







Does Gua Sha Actually Work for the Jawline? An Esthetician's Honest Answer
As professionals, we evaluate tools with a critical eye. Gua sha, a technique rooted in traditional practices, has become a prominent wellness ritual, which naturally prompts a crucial question from clients and peers alike: does it deliver visible results for the jawline? The answer, grounded in an understanding of facial anatomy, is yes—when performed correctly and with realistic expectations.
It is essential to clarify that gua sha does not alter bone structure. Its influence is on the soft tissues of the face and neck. The primary mechanisms are its effects on lymphatic fluid and muscular tension. The gentle, directional movements of a gua sha tool encourage the movement of lymph, the interstitial fluid that can accumulate and contribute to a soft, puffy appearance that obscures the natural contours of the mandible. By supporting this natural drainage process, the technique helps reduce superficial puffiness, allowing the underlying bone structure to appear more prominent and defined.
Furthermore, the ritual is exceptionally effective at addressing myofascial tension. Many individuals hold significant tension in the masseter muscles of the jaw from clenching or daily stress. Chronic tension can contribute to a hardened, tight appearance and feel. A focused gua sha practice helps to release this tightness through gentle, sustained massage, which can visibly soften facial features and create a more relaxed, contoured look along the jaw.
What to expect is a temporary, cumulative effect. A single session can yield a visibly less puffy, more sculpted appearance for several hours. With consistent practice—three to five times per week—you support the ongoing processes of lymphatic drainage and muscle relaxation, leading to a more consistently defined appearance. It is a commitment to a ritual that supports the skin's function and appearance, not a permanent structural change.
The Golden Rule: How to Prep Your Skin for the Perfect Glide
Performing gua sha on dry skin is a critical mistake that should always be avoided. Without proper lubrication, the tool will tug and pull at the skin, creating uncomfortable friction that can lead to surface redness and irritation. The key to a successful and pleasant ritual is creating a slick, emollient canvas that allows the tool to glide effortlessly.
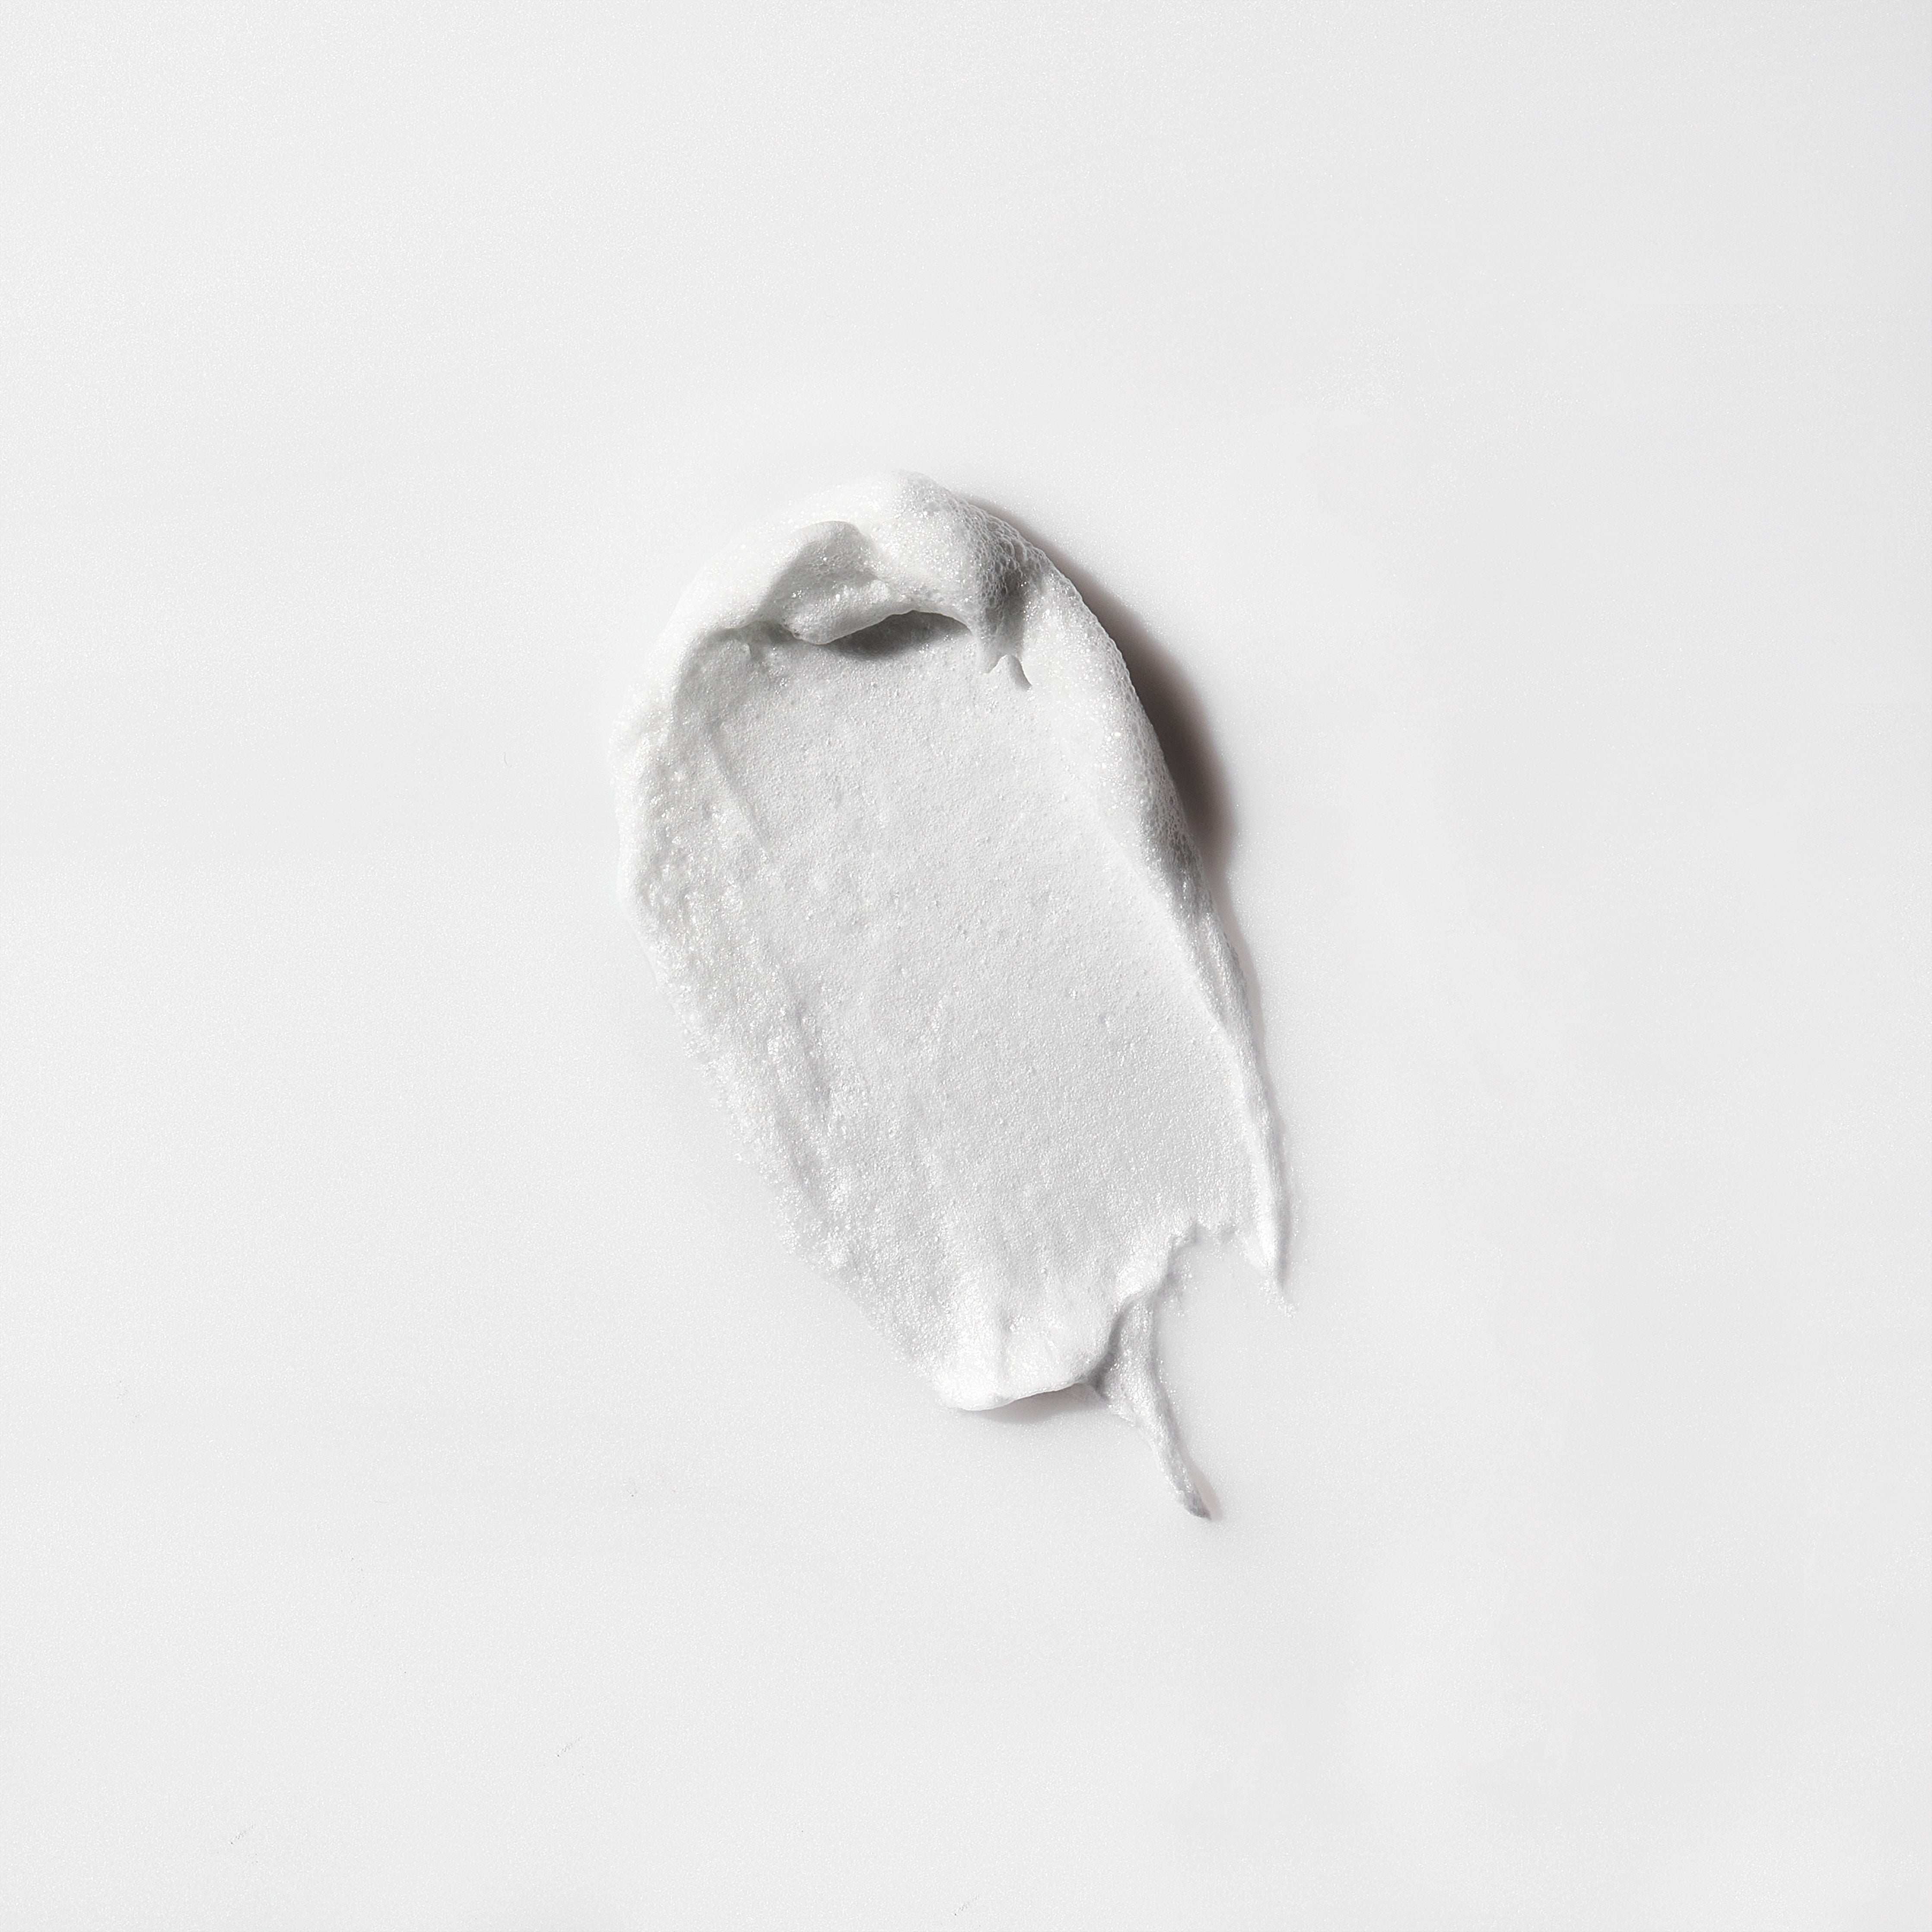
First, you must begin with a clean surface. To create the perfect canvas for your ritual with a gentle, microbiome-friendly cleanser, use a product that removes impurities without stripping the skin's essential lipids. We recommend the Biome Balancing Creamy Cleanser. This soap-free, pH-balanced formula uses gentle, amino acid-based surfactants like Sodium Cocoyl Hydrolyzed Amaranth Protein to lift away dirt and makeup. It is formulated with non-living postbiotics like Lactobacillus Ferment Lysate and prebiotics like Inulin to support the skin's delicate ecosystem, earning it the "Gentle on Microbiome" badge. The inclusion of fine-milled Avena Sativa (Oat) Kernel Flour provides a comforting, soothing feel, leaving skin feeling soft and prepared, not tight.

After cleansing and patting the skin dry, the next step is to apply a generous layer of a high-quality facial oil. Oils provide the ideal viscosity and cushion for facial massage, allowing the gua sha tool to maintain contact with the skin's contours without friction. When you achieve the necessary slip with luxurious, anti-aging facial oils, you are also delivering potent botanical nutrients directly to the skin. The warmth and movement of the massage can enhance the absorption of these beneficial lipids.
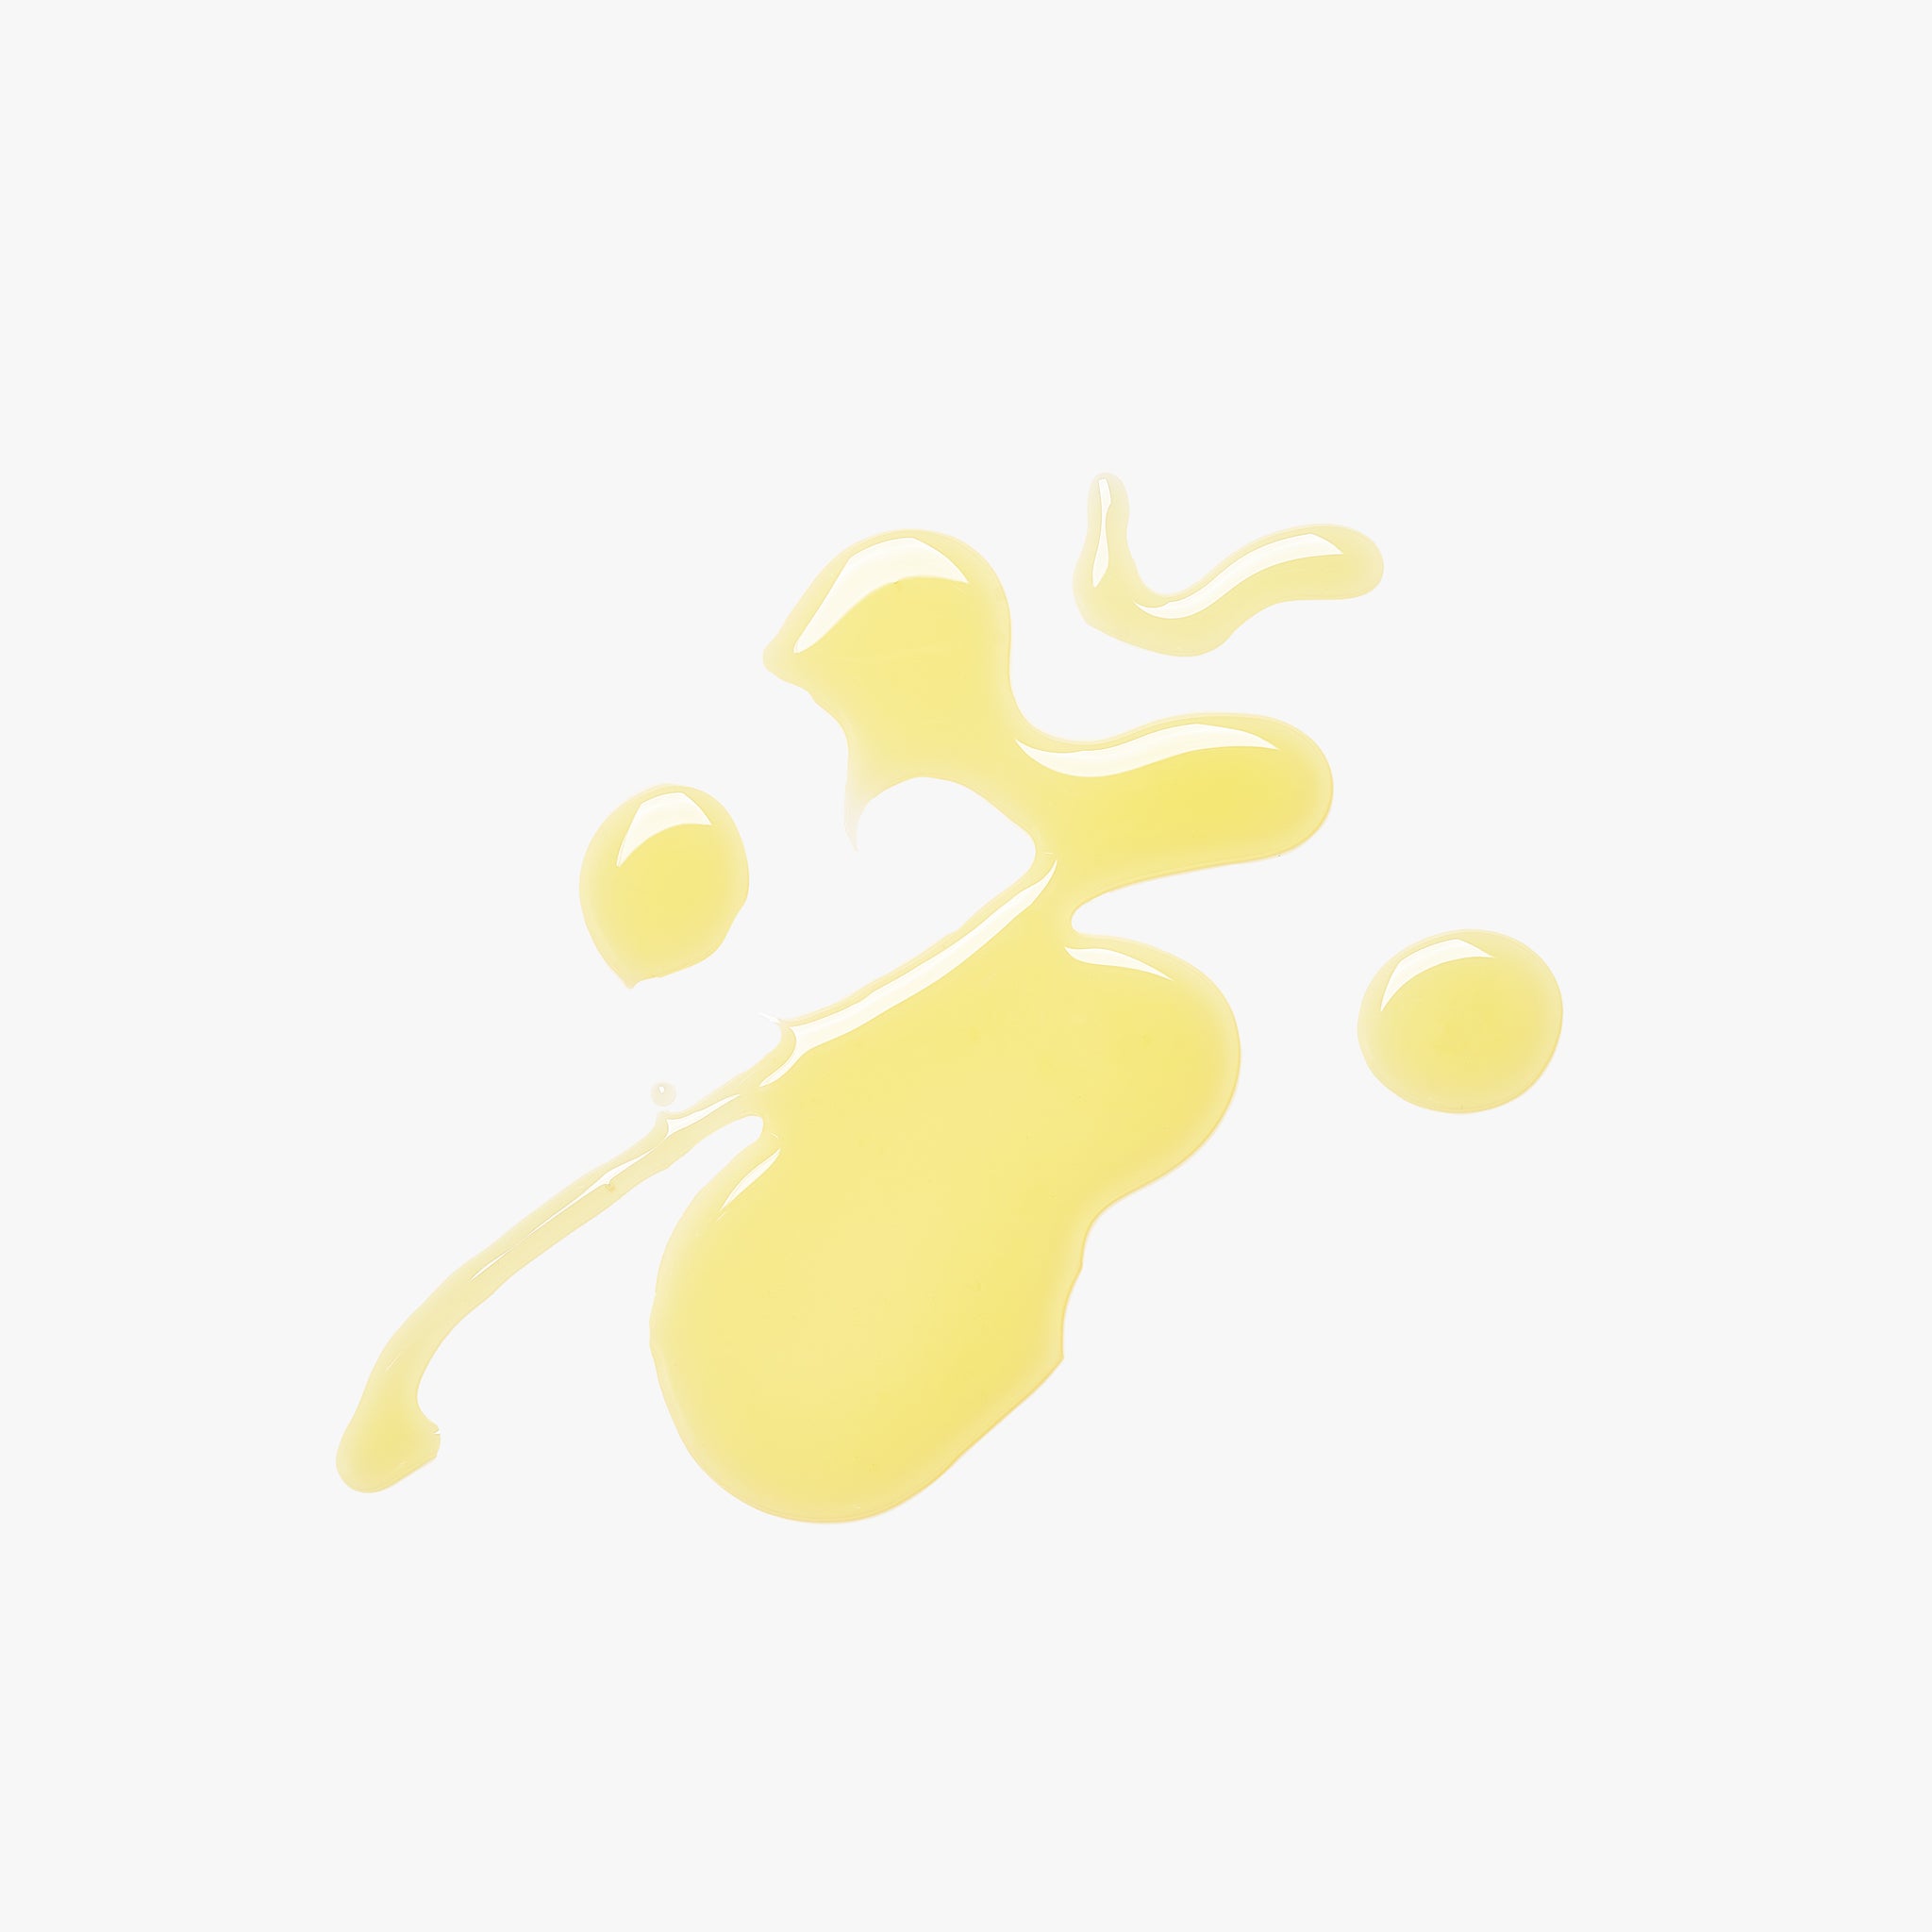
For skin that is sensitive or prone to congestion, the Skin Soothing Face Oil is an excellent choice. This lightweight, silky oil provides immediate comfort and slip. Its formulation is centered around ingredients known to hydrate and soothe, such as Calophyllum Inophyllum (Tamanu) Oil, a rich botanical oil recognized for its calming properties. This is complemented by plant-derived Squalane and Sambucus Nigra Fruit Extract to support the skin's moisture barrier during your ritual.

For those with drier skin types or who desire a richer, more cushioned experience, the Plum Botanical Serum is a perfect fit. This elegant oil-serum hybrid features cold-pressed Prunus Domestica (Plum) Seed Oil, which lends the formula its signature marzipan-like aroma and a wealth of nourishing fatty acids. It is bolstered by other potent lipids like Opuntia Ficus Indica (Prickly Pear) Seed Oil and Lycium Barbarum (Goji Berry) Seed Oil. To further enhance your results, it is beneficial to nourish the skin with botanicals rich in fatty acids, like Adansonia Digitata (Baobab) Seed Oil, which help maintain a resilient and hydrated appearance.

A Step-by-Step Gua Sha Tutorial for Jawline and Neck Definition
With your skin properly cleansed and lubricated, you are ready to begin. The two most important principles of a successful gua sha practice are tool angle and pressure. Always hold the tool at a 15 to 45-degree angle against the skin, nearly flat. Never use the edge at a 90-degree angle, as this can be too intense. The pressure should be light to medium—firm enough to feel engaged with the tissue, but never painful. Think of it as a gentle glide, not an aggressive scrape.
Remember to breathe deeply throughout the process to enhance relaxation and support the parasympathetic nervous system. Repeat each step below 3-5 times on each side of your face.
Step 1: Open the Neck Before focusing on the jaw, you must first clear the lymphatic drainage pathways in the neck. Place the long, flat edge of your gua sha tool just behind your earlobe at the top of your neck. Glide down the side of your neck until you reach your collarbone. This movement encourages fluid to move toward the clavicular lymph nodes.
Step 2: Sculpt Under the Chin Using one of the smaller, notched curves of your tool, place it at the center of your chin, just below the bone. Gently but firmly glide the tool along the underside of your jawbone, moving from the center out toward your earlobe. This helps address the soft tissue directly under the jaw.
Step 3: Define the Jawline Use the V-shaped or notched curve of your tool for this step. Place your chin within the notch so that the tool is "hugging" your jawline. Starting at the center of your chin, sweep the tool upward along the jawbone, ending just in front of your ear. This movement directly targets the masseter muscle and the contour of the mandible.
Pro Note: At the end of each upward pass along the jawline, gently "wiggle" the tool in place for a second or two before lifting it away. This small, vibratory movement provides extra stimulation to the area near the preauricular lymph nodes, enhancing the drainage effect of the massage.
Your Top Gua Sha Questions Answered by a Pro
Even with a tutorial, specific questions often arise. Here are professional answers to the most common queries about incorporating gua sha into a routine.
How often should I use my gua sha?
For optimal results, consistency is more important than intensity. Aim for a session 3-5 times per week. This frequency helps maintain the benefits of lymphatic support and muscle relaxation. However, even practicing 1-2 times a week can provide a noticeable release of tension and a temporary de-puffing effect, making it a worthwhile addition to any skincare regimen.
Should I use my gua sha in the morning or at night?
Both morning and evening sessions are effective, and the best time depends on your primary goal.
- Morning: An AM session is ideal for addressing overnight puffiness. The cool stone and directional movements are highly effective at moving stagnant lymph fluid, helping the facial contours, especially the jawline, appear more awake and defined for the day ahead.
- Night: A PM session is perfectly suited for releasing the accumulated facial tension of the day. Focusing on the masseter and neck muscles before sleep can help relax a tight jaw, reduce tension-related headaches, and promote a state of calm. It transforms your skincare routine into a meditative, restorative ritual.
What are the most common mistakes to avoid?
Confidence comes from knowing what not to do. Avoid these common errors to ensure your practice is safe and effective:
- Applying Too Much Pressure: Gua sha should feel relaxing, not painful. Excessive pressure can lead to bruising or broken capillaries. Let the weight of the tool do most of the work.
- Using a 90-Degree Angle: Holding the tool perpendicular to the skin creates a scraping effect rather than a gliding one. Keep it nearly flat (15-45 degrees) for a gentle, effective massage.
- Forgetting Skin Prep: As emphasized earlier, never use a tool on dry skin. A facial oil is non-negotiable for providing the necessary slip.
- Using a Dirty Tool: Clean your gua sha tool with soap and water before and after each use to prevent the transfer of bacteria to your skin.
- Moving Too Quickly: The lymphatic system responds to slow, deliberate movements. Rushing through the motions will not be as effective. Be mindful and intentional with each glide.
Beyond the Jawline: Integrating Gua Sha into a Holistic Nuebiome Ritual
Once you have mastered the technique for your jawline and neck, you can apply the same core principles—a 15 to 45-degree angle, light-to-medium pressure, and upward, outward strokes—to other areas of the face. Use the larger curves of the tool to glide over the cheeks from the nose toward the hairline and smaller curves for the brow bone and forehead.
This practice is more than a simple cosmetic step; it is an opportunity for a mindful moment of self-care. It encourages a deeper connection with your own skin and facial structure. When you incorporate this practice as part of a holistic approach to natural skincare, it elevates your entire routine.
After your massage, do not rinse the facial oil from your skin. Allow the nourishing botanicals to continue absorbing. Follow with your favorite hydrator and moisturizer to lock in the oil's benefits and complete your Nuebiome ritual, leaving your skin feeling supple, relaxed, and visibly refreshed. As with any new tool or technique, be sure to patch test products and listen to your skin’s feedback. For more information, you can find answers to other common questions about our products and philosophy.